The Updates History module is where users can view pending updates batches that have just been pushed through, as well as all completed and past batches. To access Updates History, please click on the navigation bar located on the top of the page, click on Updates and select Updates History.
Here, you can see 3 different tabs: Batches, Batch items, and Pending batches.
Batches
The "Batches" tab is the main area that gives a bird's eye view of all batches that exist in the UI:
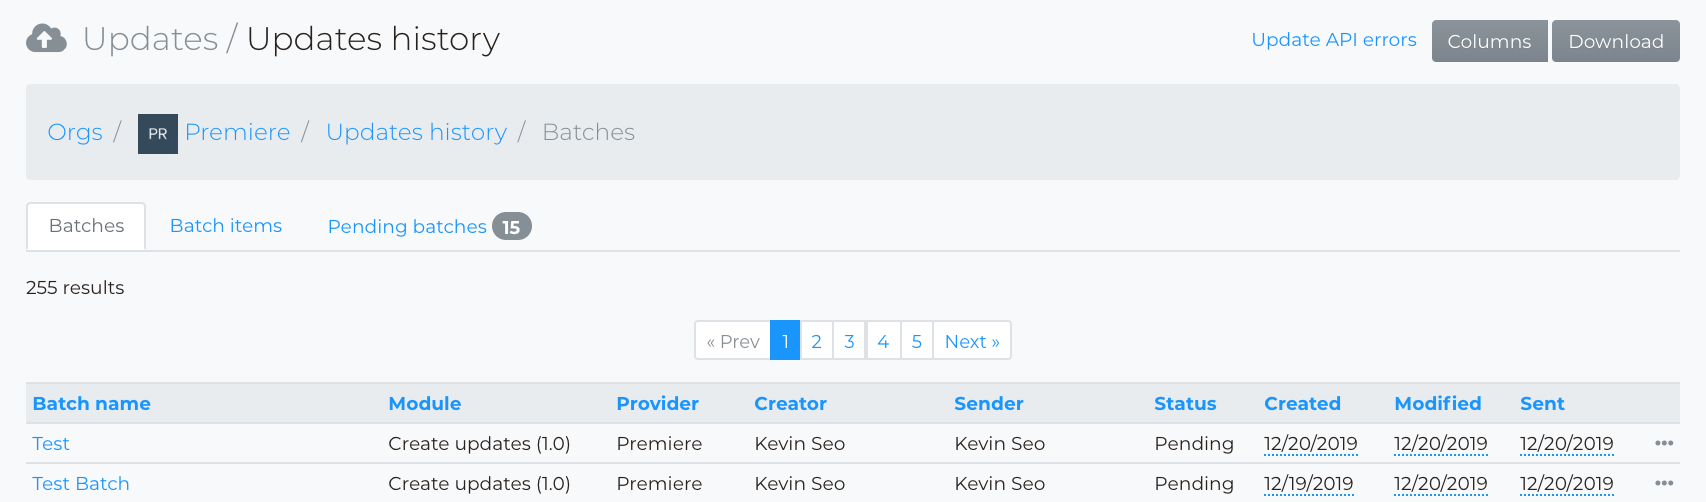
All types of batches will appear here--sent, pending, and draft batches. The available column headings are defined as follows:
| Batch name | The name of the updates batch that was pushed through. |
| Module | The module that an update was delivered from |
| Provider | The provider of that batch |
| Creator | The user within organization that created the batch |
| Sender | The user that pushed the batch through |
| Status |
This will either be sent, pending, or draft.
|
| Created | When the batch was created |
| Modified | When the batch was last resent, with modifications |
| Sent | When the batch initially pushed through |
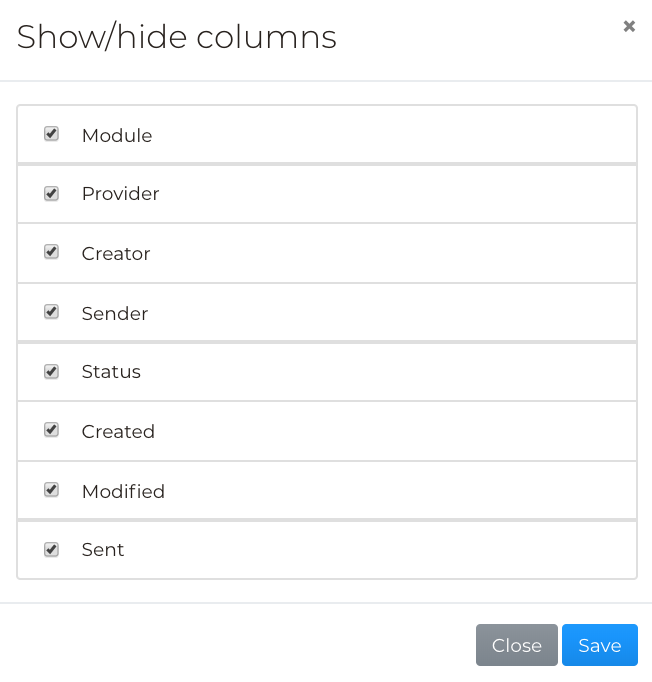
Note: These columns can be customized per the user's preferences. To eliminate any column headings from view, click the "Columns" button:

Then, select or de-select any of the column headings as desired and click "Save". By default, every column heading is selected.
For any batches that are still in draft status, clicking the name of the batch will take the user back to the Create Updates (1.0) module, which is where the batch can be finished before sending it through.
Additionally, while in Updates History on the Batches tab, the ellipses to the far right has the "Delete" function to remove the batch from the dashboard:

Batch Items
To see the titles included in a batch, first click on a batch name, which will take the user to the "Batch items" tab. In this tab, all specific metadata being pushed through the batch will be shown:
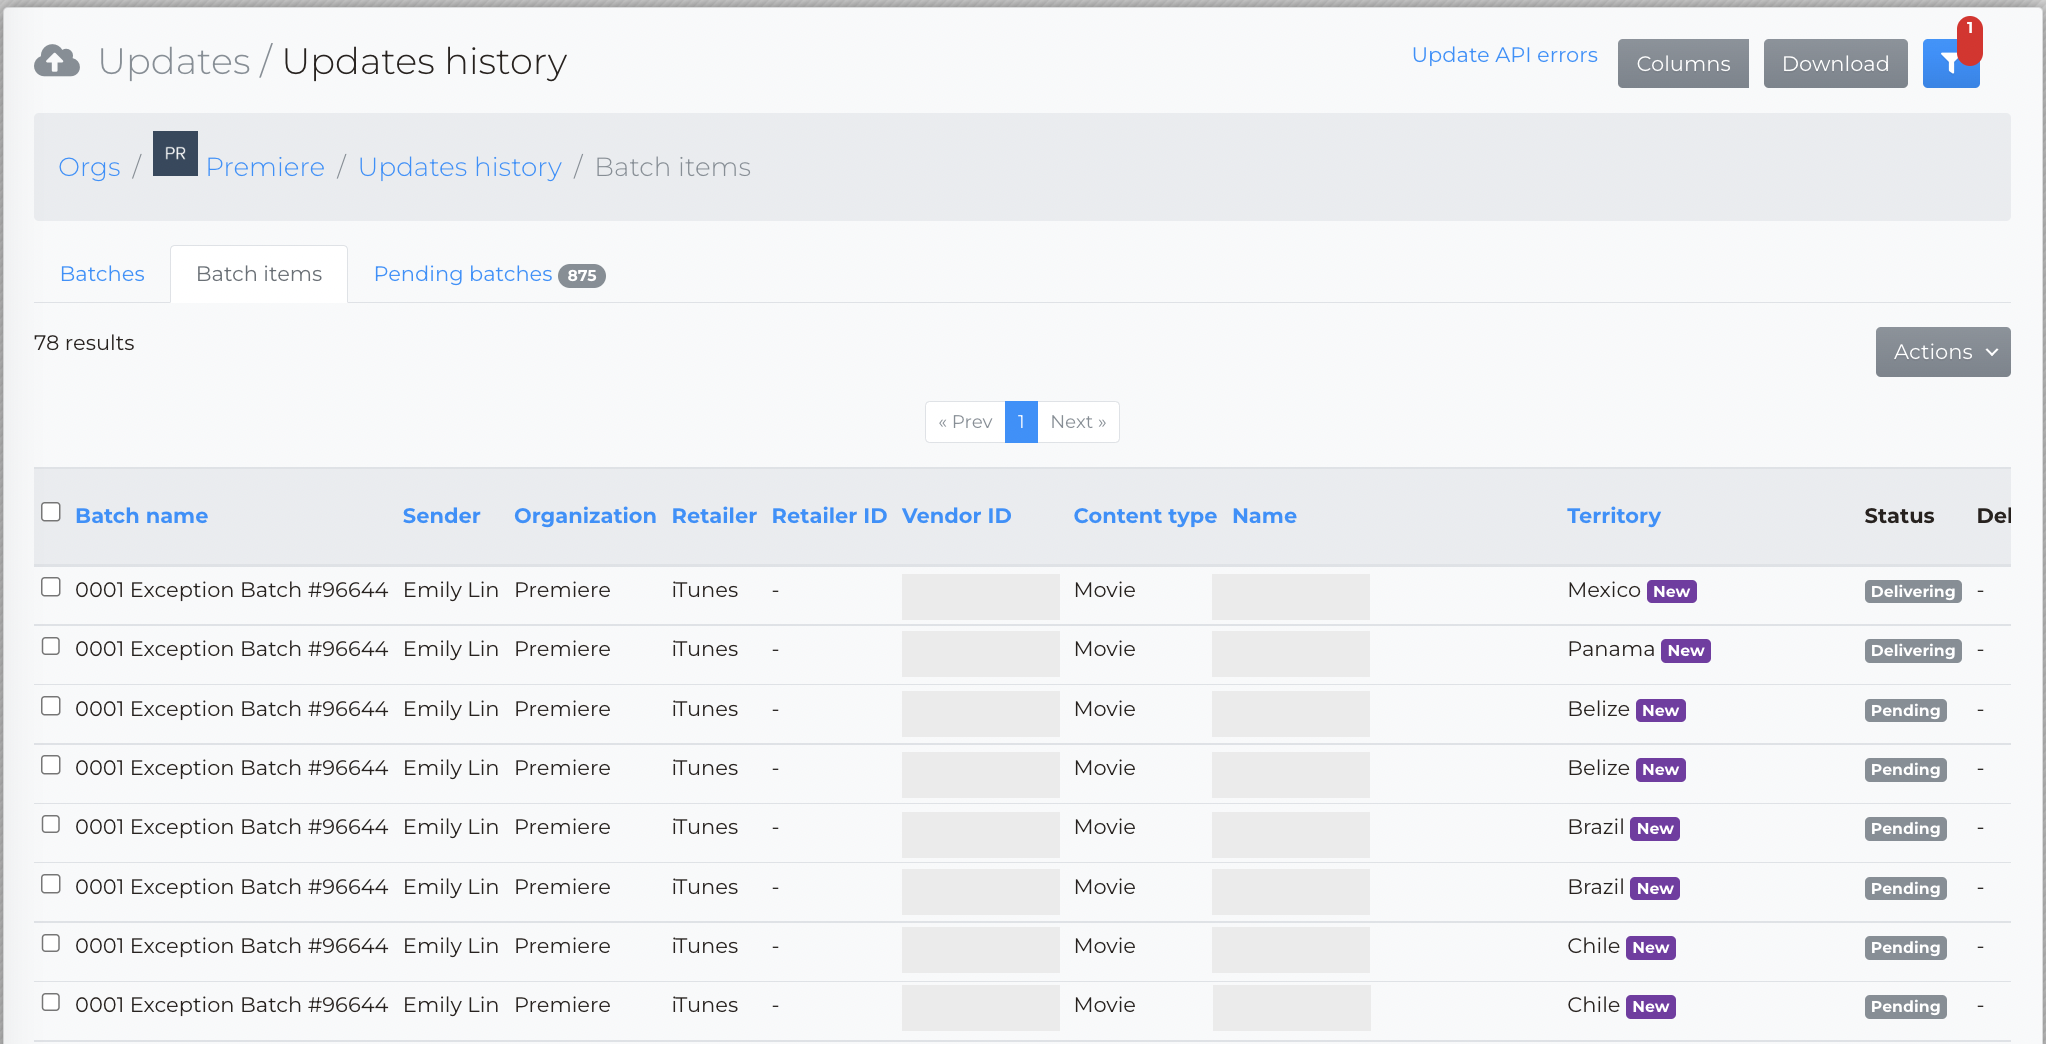
You can go straight to "Batch items" without clicking a specific batch name if you want to see individual line items of all of the updates your organization has pushed through.
Within "Batch items", information such as the title, retailer, pricing, status of the update, and more will appear. The "Columns" contains the column headings that can be turned on or off. Most of those headings have been gone over in this article, but there are some that are unique to this section:

Status - These are the four different types of statuses:
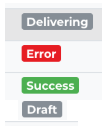
Delivering - The update is still being pushed through
Error - The update did not successfully go through
Success - The update successfully went through
Draft - The update is has been saved as a draft, and not gone through.
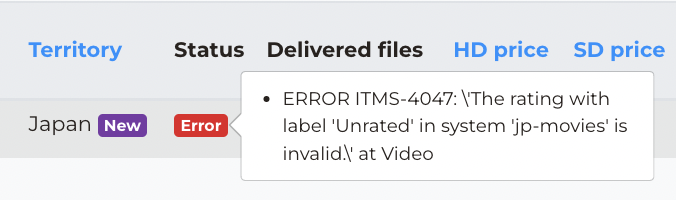
Error message - when an update fails to deliver for a title, please hover over the ![]() icon.
icon.
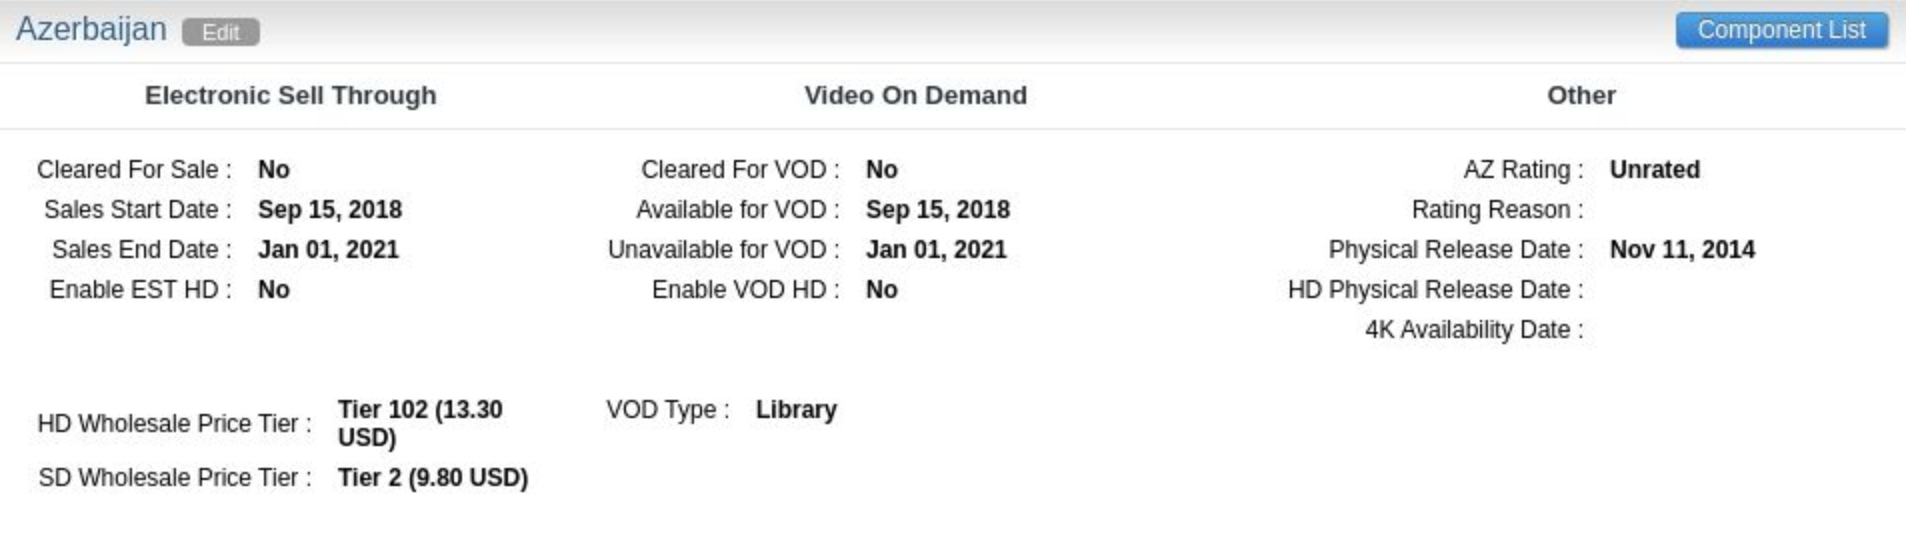
Delivered files - If the update was sent via XML, then a link to the XML file containing the metadata will appear here. Else it would be a confirmation image like below which shows a snapshot of what the title/territory looks like in iTunes Connect.
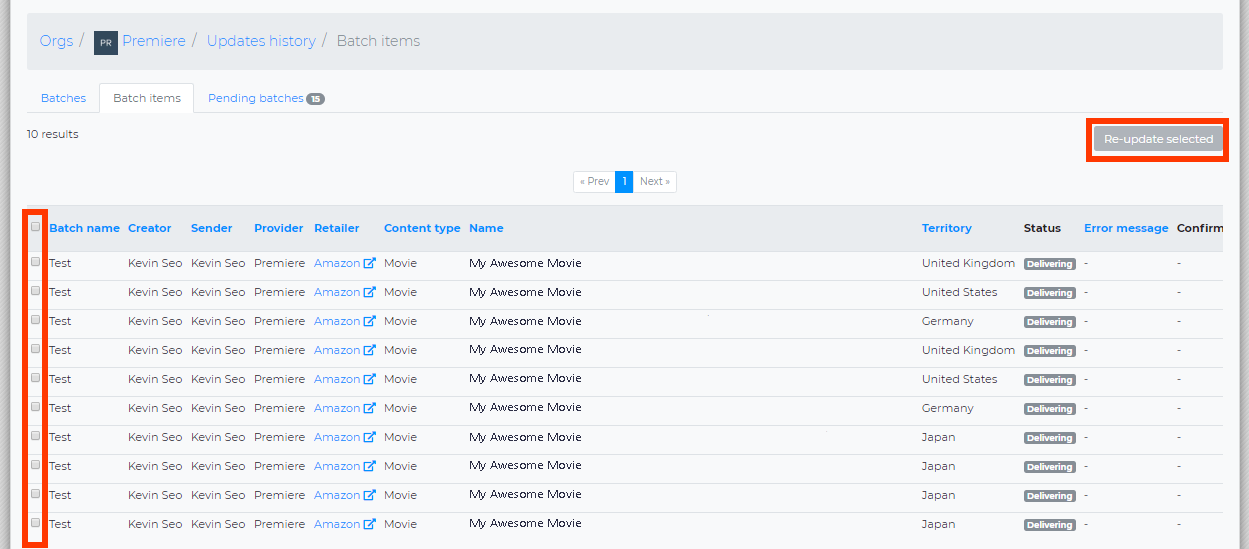
Updates can be resent by checking the boxes next to any of the updates, or click the box next to "Batch name". Then, click the "Re-update selected" button to send them through again:
The "Price Check" feature allows users to see the current pricing tiers for a title/territory in iTunes Connect. For more information on that, read our article about the functionality here.
Users can also take a batch that already exists, and add the same avail information for those titles with new or unchanged metadata to a new batch by clicking the ellipses to the far right of a batch name. There, click "Re-update":

This will take you back to Create Updates (1.0) to push the update through again, with whichever new information you wish to add.
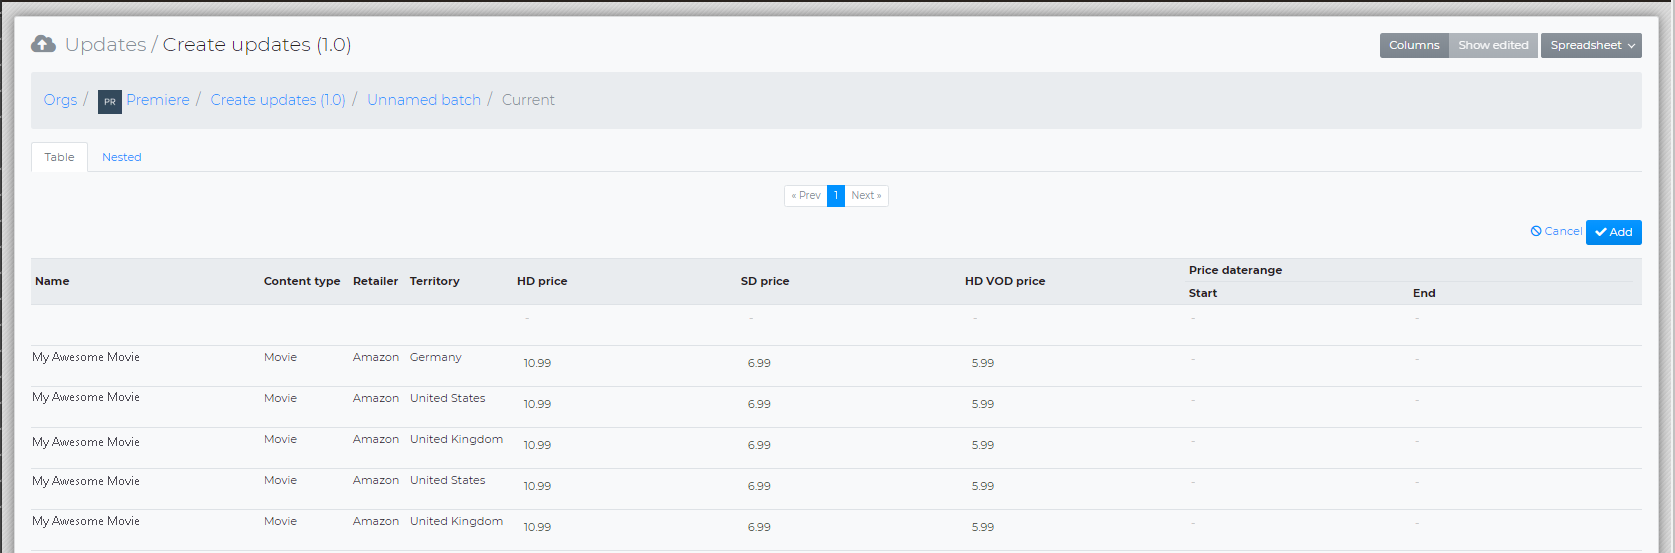
At the following page, you can change your metadata before adding these updates to a batch:
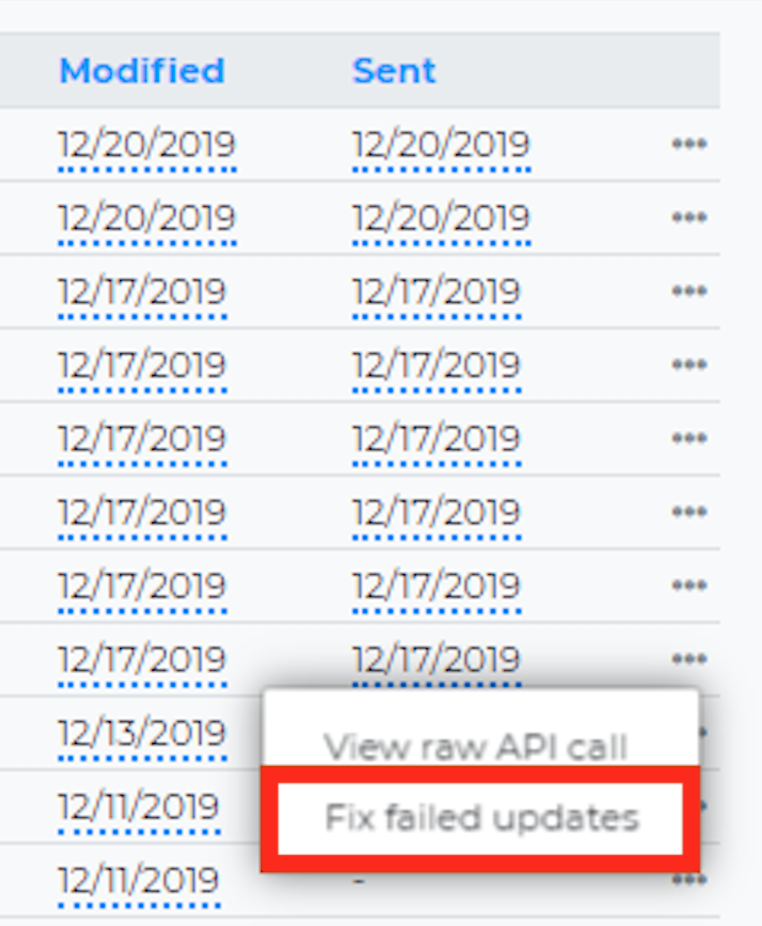
For any updates that failed, users can click on the three ellipses and select "Fix failed updates":
The following screen will show what specific metadata failed to go through, and it will be highlighted in red:
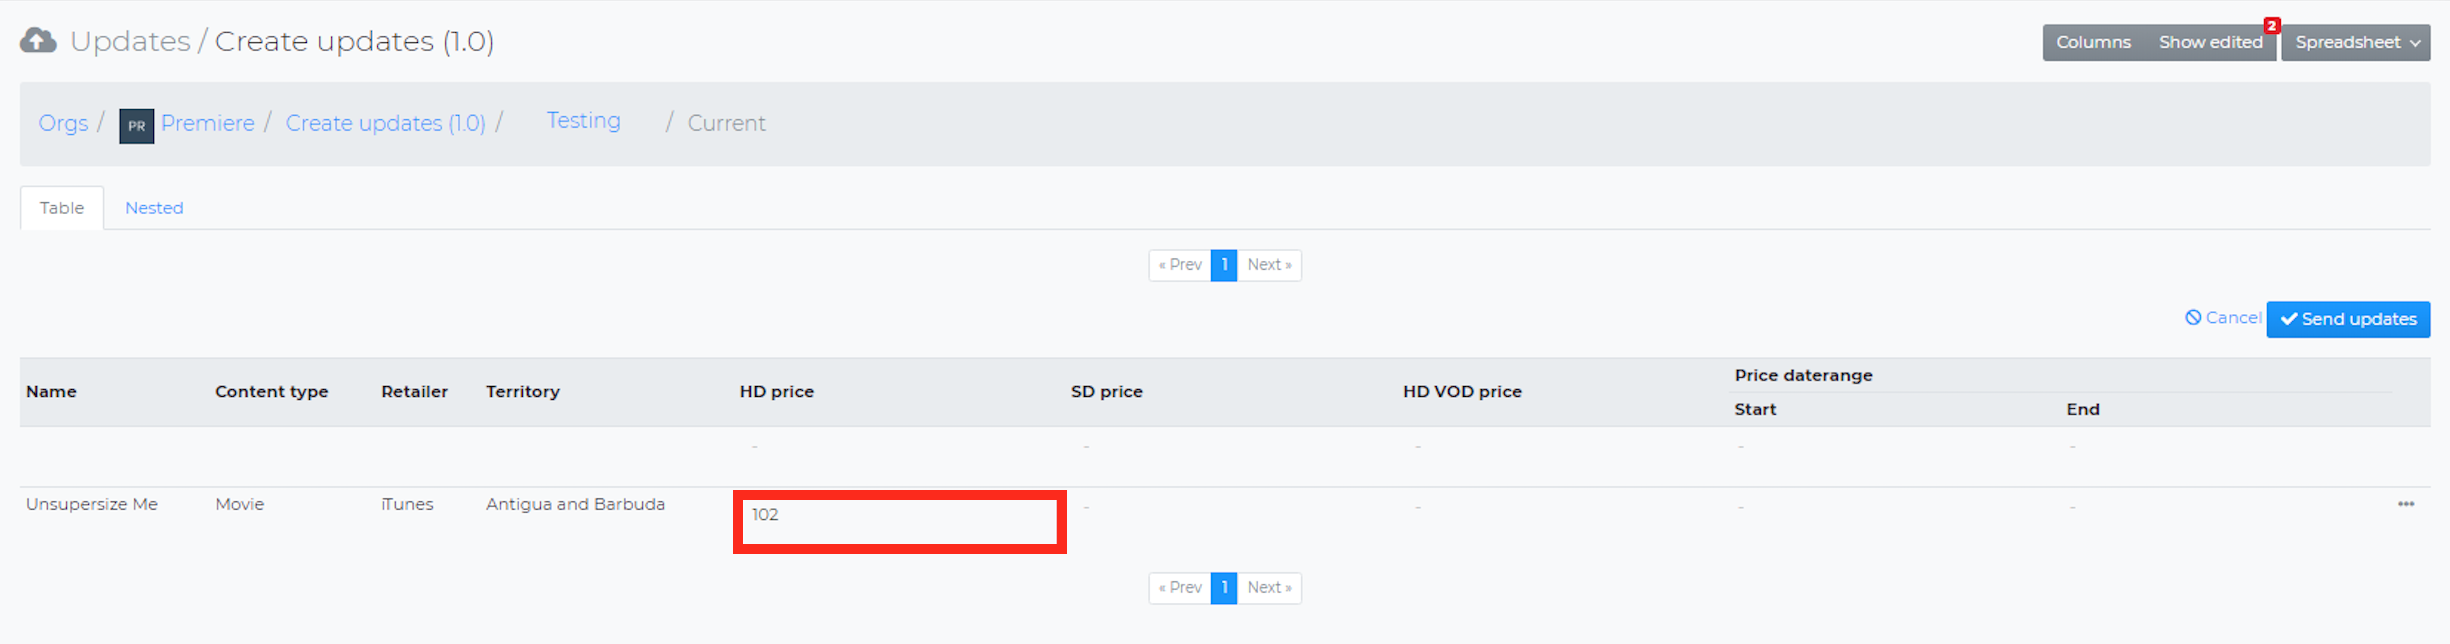
There are a number of reasons an update might have failed: the price might not exist at the retailer, the EST end date is before the start date, and more. In Batch Items, you will be able to see what the error was exactly, since the UI provides that exact information. For more information about that, read our article here.
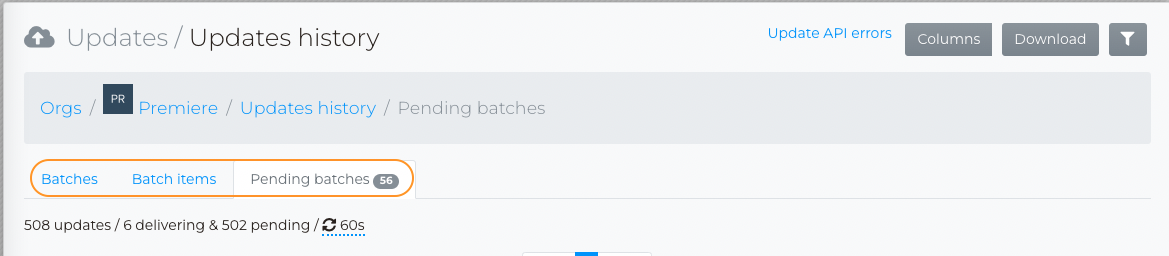
Pending batches
Any updates that are being sent through will show up in this tab:
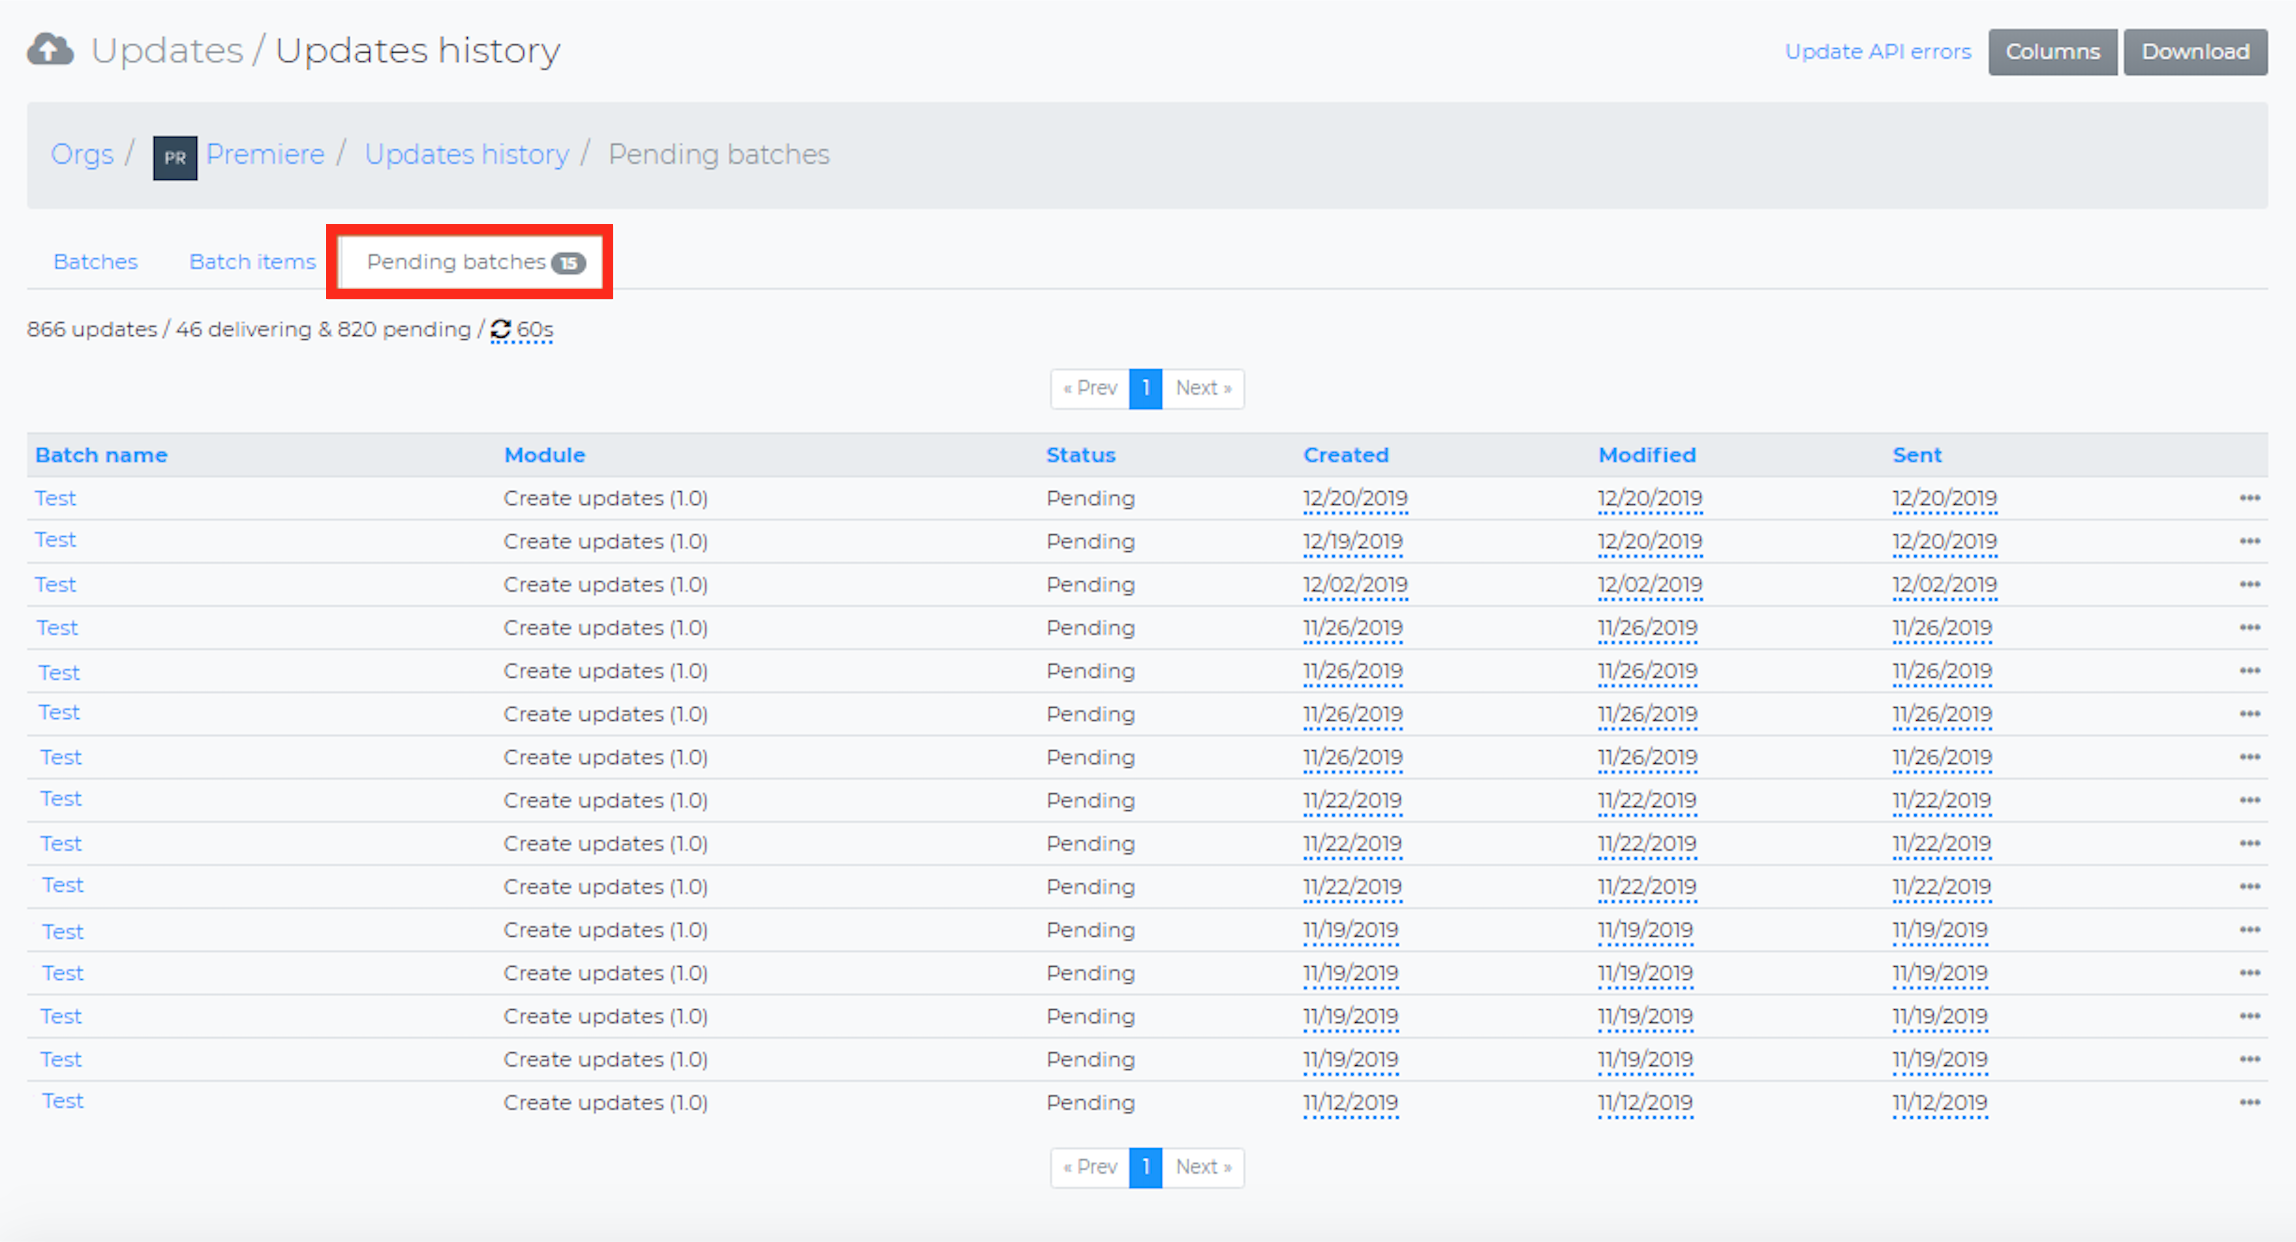
The number of batches currently underway will appear next to "Pending batches", as seen above. Clicking on any batch name will bring up all the titles/retailers included in that batch.
Just under the Pending batches tab, there are various numbers:
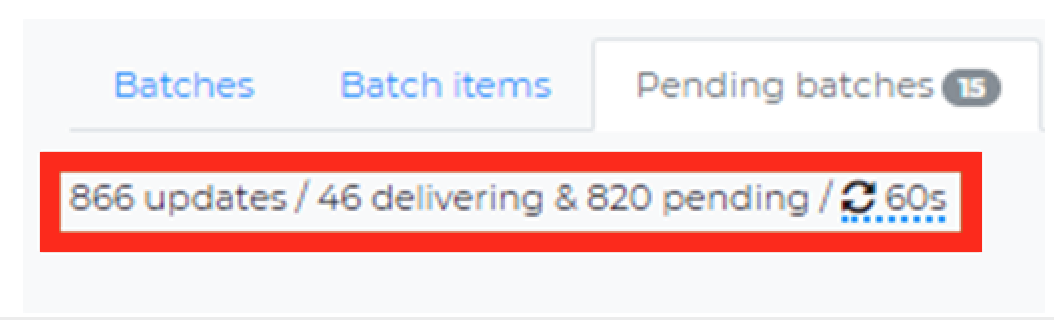
The total number of updates included in all batches, as well as what's currently being delivered/pending to deliver, appear here. The 60s denotes that the page refreshes every minute.
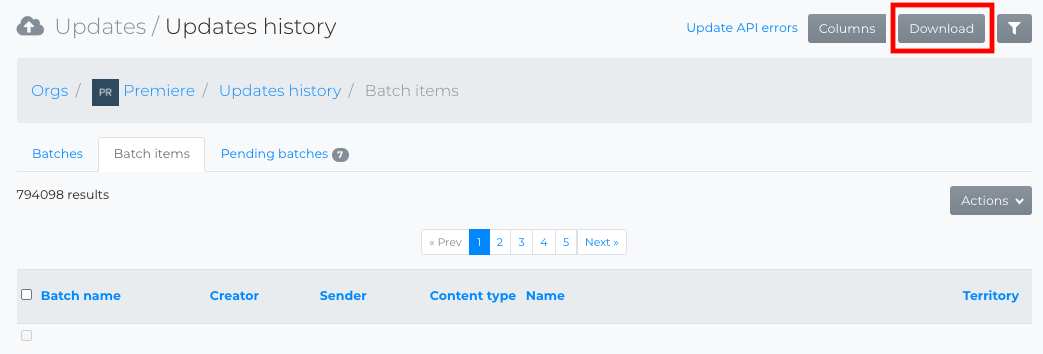
Exporting Results
In any of the tabs in Updates History, you can click the "Download" button to export the results into a .csv with all the info from the columns populated:
Filters
The filters drawer on the right side of the page allows the user to narrow down the results, just like in the other modules. However, here you users also search by batch name, who sent the batch, and other useful information:
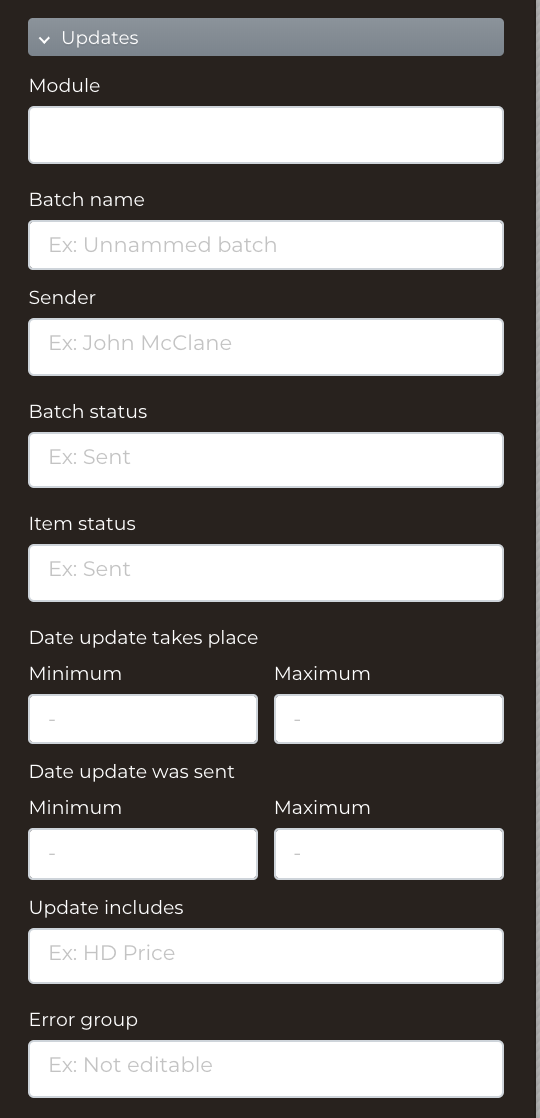
The screenshot above shows the various filter fields in the module. "Sender" is a great way to find out which users within the user's organization sent what batches, and all other columns in Updates History are filterable within this part of the UI. For more information, click here.
Canceling Pending Updates
Users can now utilize a Cancel updates function for Pending Batches in Updates History.
To use this functionality, a user must list future dates under the Effective Date columns when creating their update. For more information on creating updates, click here.
With an effective date listed, users will find their batch under the Pending batches tab when navigating to Updates History. Users can select the batch which will redirect them to Batch Items.
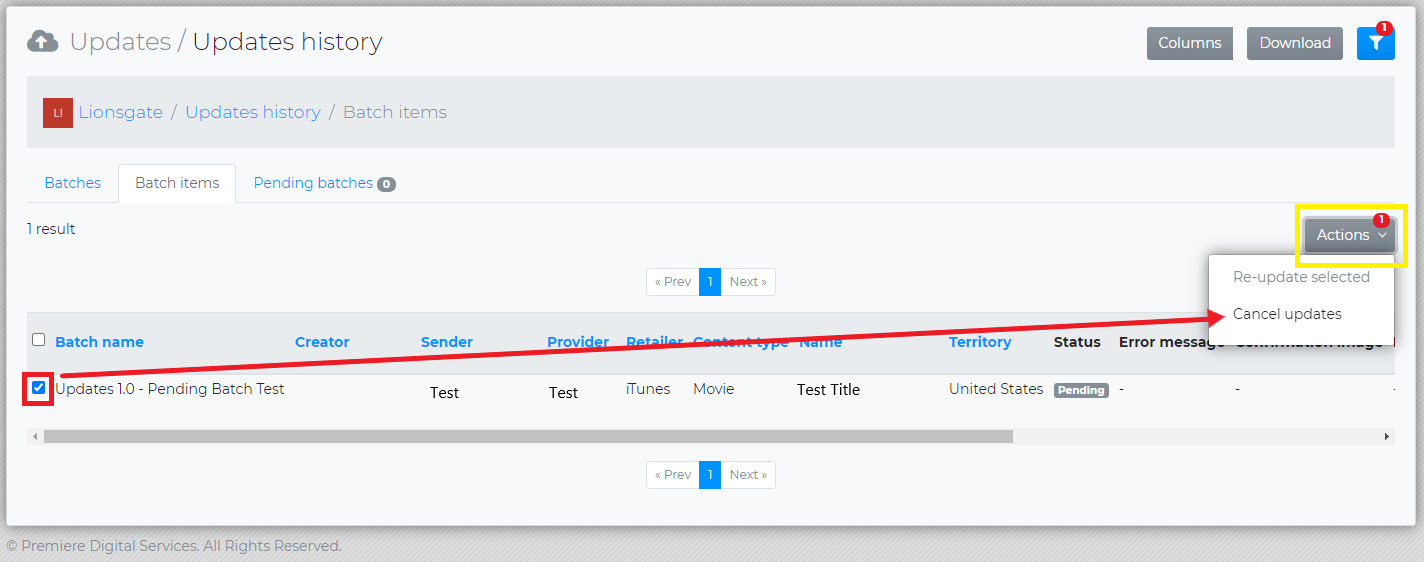
In Batch Items, users should check any given items they'd like to cancel, and then they can navigate to the Actions dropdown menu.
Within this menu, users will find the Cancel updates function. Upon selecting Cancel updates, a confirmation window will upon.

Any selected batch items should be listed here. Users can either select 'Cancel' or 'Ok', which would then remove that update's batch item(s).